Go back
Blur images onLoad with Next.js
Jan 15, 2024 · 3 min read
Formerly, the approach to add a blur effect/placeholder to an image required the use of next/image placeholder="blur" and the optional blurDataURL prop which accepts a base64 — something like this iVBORw0KGgoAAAANSUhEUgAAAArkJggg....— string representing that image.
<Image
  src={someImage}
  height={50}
  width={50}
  placeholder="blur"
  blurDataURL=""
/>
You can decide to pass the image path itself as the blurDataURL. The idea behind this is to provide a visual cue — that lets them know if the image is ready or not — for your website visitors.
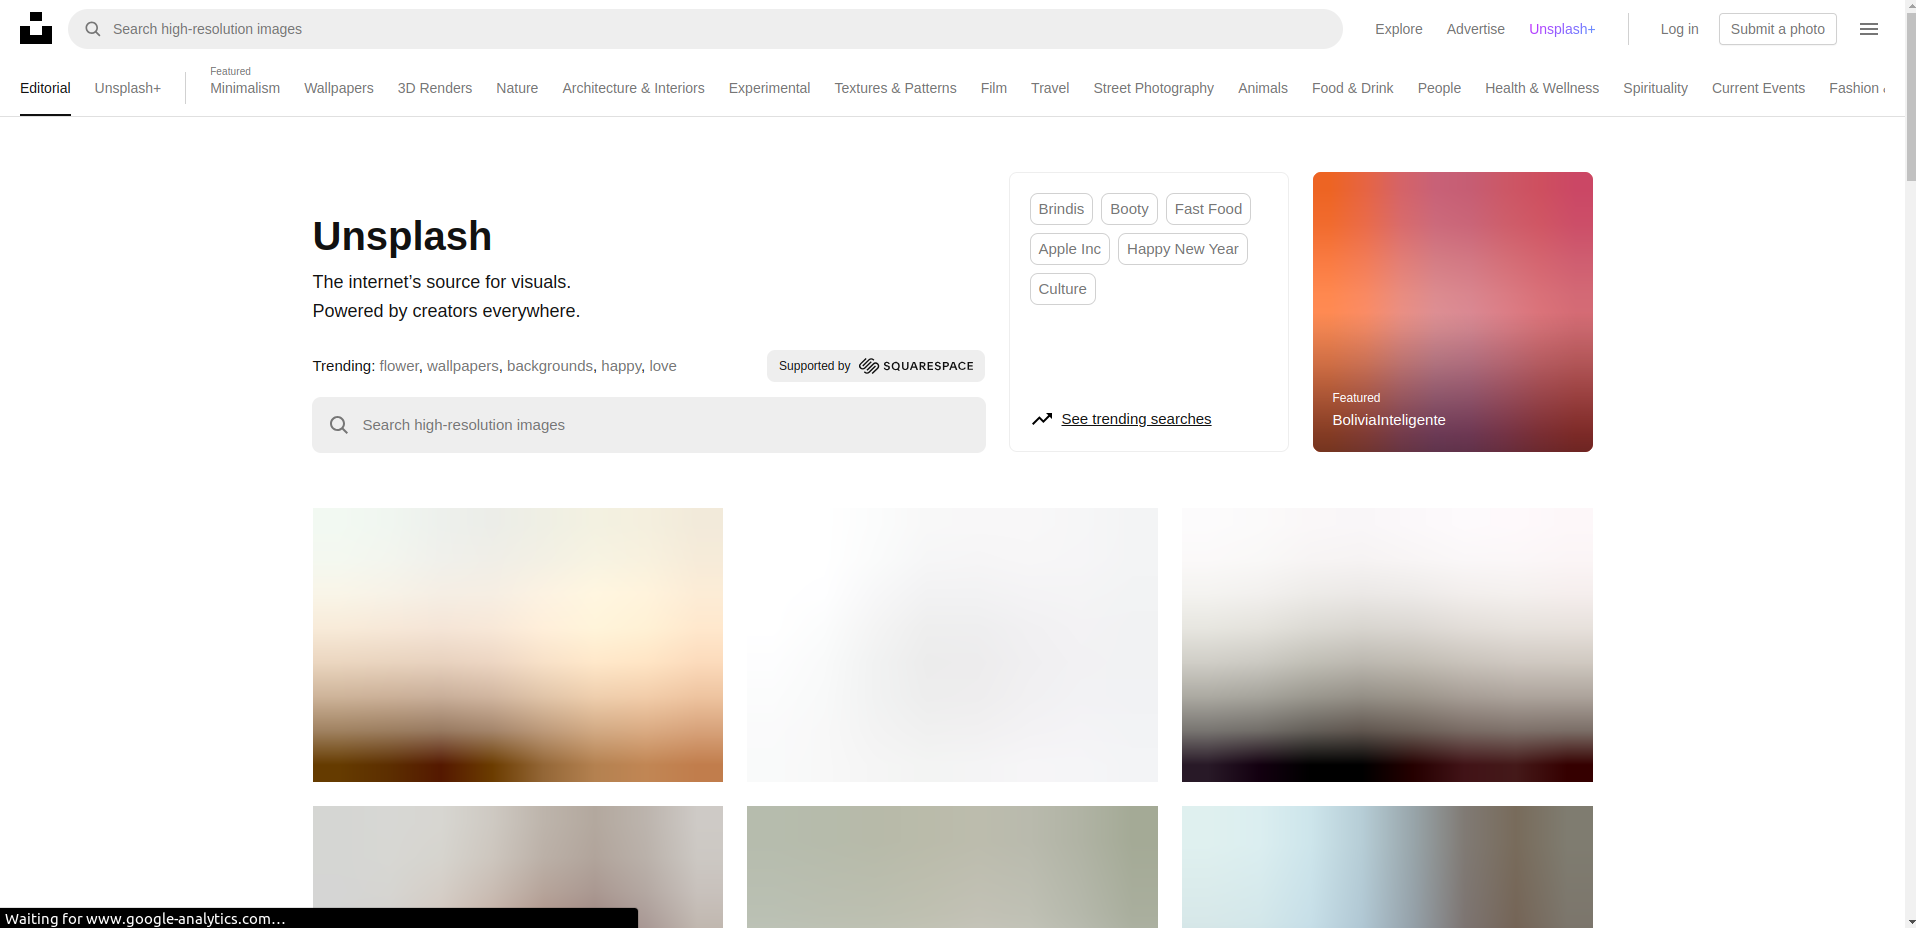
You'd find this approach on a website like Unsplash. See the image below.
Build the image component
But, the recent updates to Next.js, included a significant change in the APIs of its image component. You can learn more about the advanced APIs here.
In this guide, the onLoad prop is what we'd focus on. Achieving this goal is quite similar to what Unsplash does, we'd rely on the good 'ol React useState hook.
The snippet below shows how you can accomplish this.
import React from 'react'
import Image from 'next/image'

const ImageComponent = () => {
  const [isImageLoading, setImageLoading] = React.useState(true)

  return (
    <div>
      <Image
        alt="Example image"
        src="path/to/image"
        height={120}
        width={100}
        onLoad={() => setImageLoading(false)}
        className={`${isImageLoading ? 'blur' : 'remove-blur'}`}
      />
    </div>
  )
}
In the snippet above, you'll notice that lines 5, 14, and 15 have been highlighted. The idea behind that action is to indicate the parts that make the component tick.
First, we create a loading state for the image, so the component is aware of it. Then we go on to use the onLoad prop to modify the loading state of the image component.
When that is settled, we proceed to use the state value to apply CSS classes conditionally.
.blur {
  filter: blur(5px);
  transition: filter 0.3s ease-in;
}

.remove-blur {
  filter: blur(0px);
  transition: filter 0.3s ease-in;
}
wrapping up
Although, this might seem like another workaround. You do not necessarily have to follow it through to the letter, you can approach implementing something similar as you see fit.
The approach that involves using a blurDataURL also works. If you want to give it a try, you can use this tool to generate a transparent or solid base64 image string.
You'd then proceed to use it like so:
<Image blurDataURL="data:image/png;base64,iVBORw0KGgoAAAANSUhEUgAAAAEAAAABCAYAAAAfFcSJAAAADUlEQVR42mP8z8BQDwAEhQGAhKmMIQAAAABJRU5ErkJggg==" />